
How to Make Shrinky Dink Flower Petals for Resin Art 🌼
You know those late-night Pinterest scrolls that turn into full-blown obsessions? That’s exactly how this whole Shrinky Dink petal project started. I stumbled across an artist using Shrinky Dinks to make jewelry, and a big ol’ lightbulb went off. What if we could use this same material to make custom, colorful petals for our resin art? Let me walk you through everything you need to know, from coloring and cutting to shrinking and shaping.
Step 1: Sketch and Color Your Petals
Start by drawing your petal or leaf shapes. You can sketch freehand or use a template. Since Shrinky Dink sheets shrink by about 50%, be sure to size your designs accordingly - something that starts around 4.5” long will end up around 2” once shrunk.
Place your Shrinky Dink sheet frosted side up over your design and start coloring. You can use:
-
Archival brush markers for bold, opaque color
-
Watercolor pencils for a more translucent look
-
Mica powder or chalk for unique textures
Avoid Sharpies or regular markers unless you seal your piece afterward. And never use paint - it bubbles under heat. Blend your colors with gentle, organic strokes for that natural petal effect. Carefully cut out your petal.

Step 2: Shrink the Petals
Now it’s time to shrink! You’ve got two options:
-
Oven: Follow the Shrinky Dink instructions (usually 325°F on a parchment-lined tray for a couple of minutes).
-
Heat gun: Hold your petal down with a metal tool or skewer, and apply heat in circular motions on low. It’ll curl, twist, and then flatten back out.
While it’s still warm and flexible (about a 3–4 second window), shape your petal with your fingers or tweezers. I like mine with a slight curve or pinch to make them feel more realistic.

Step 3: Assemble and Resin
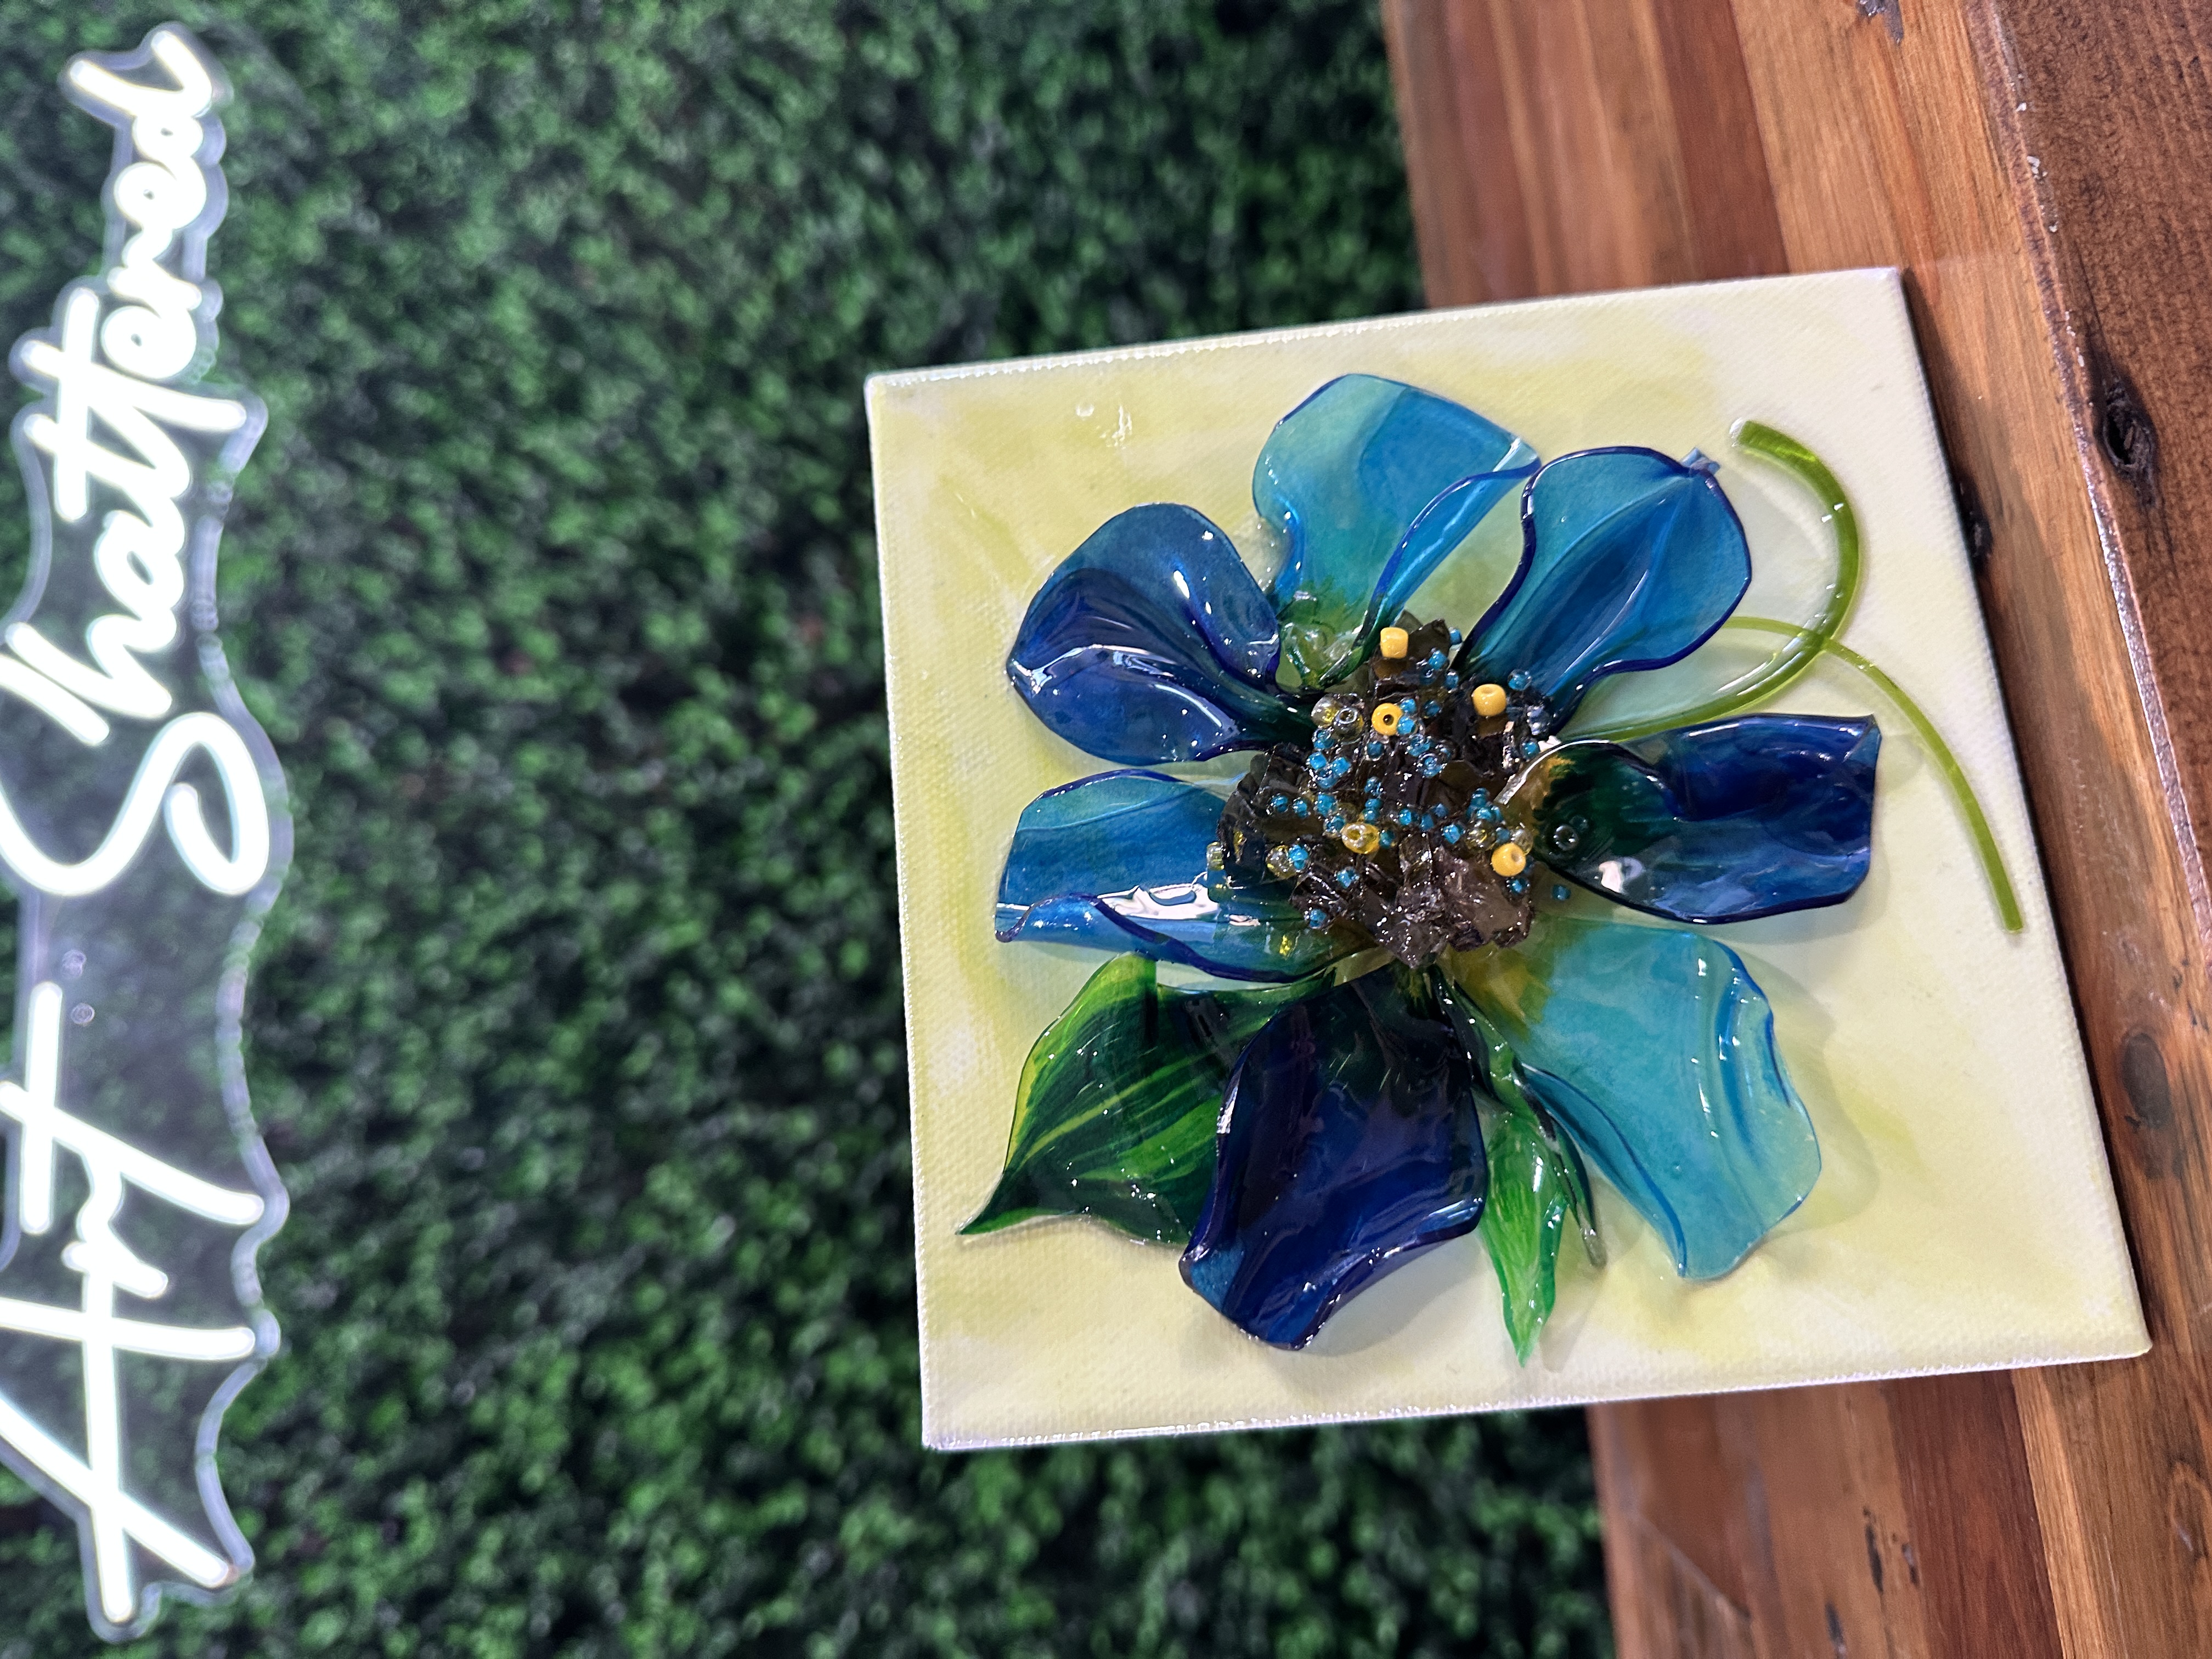
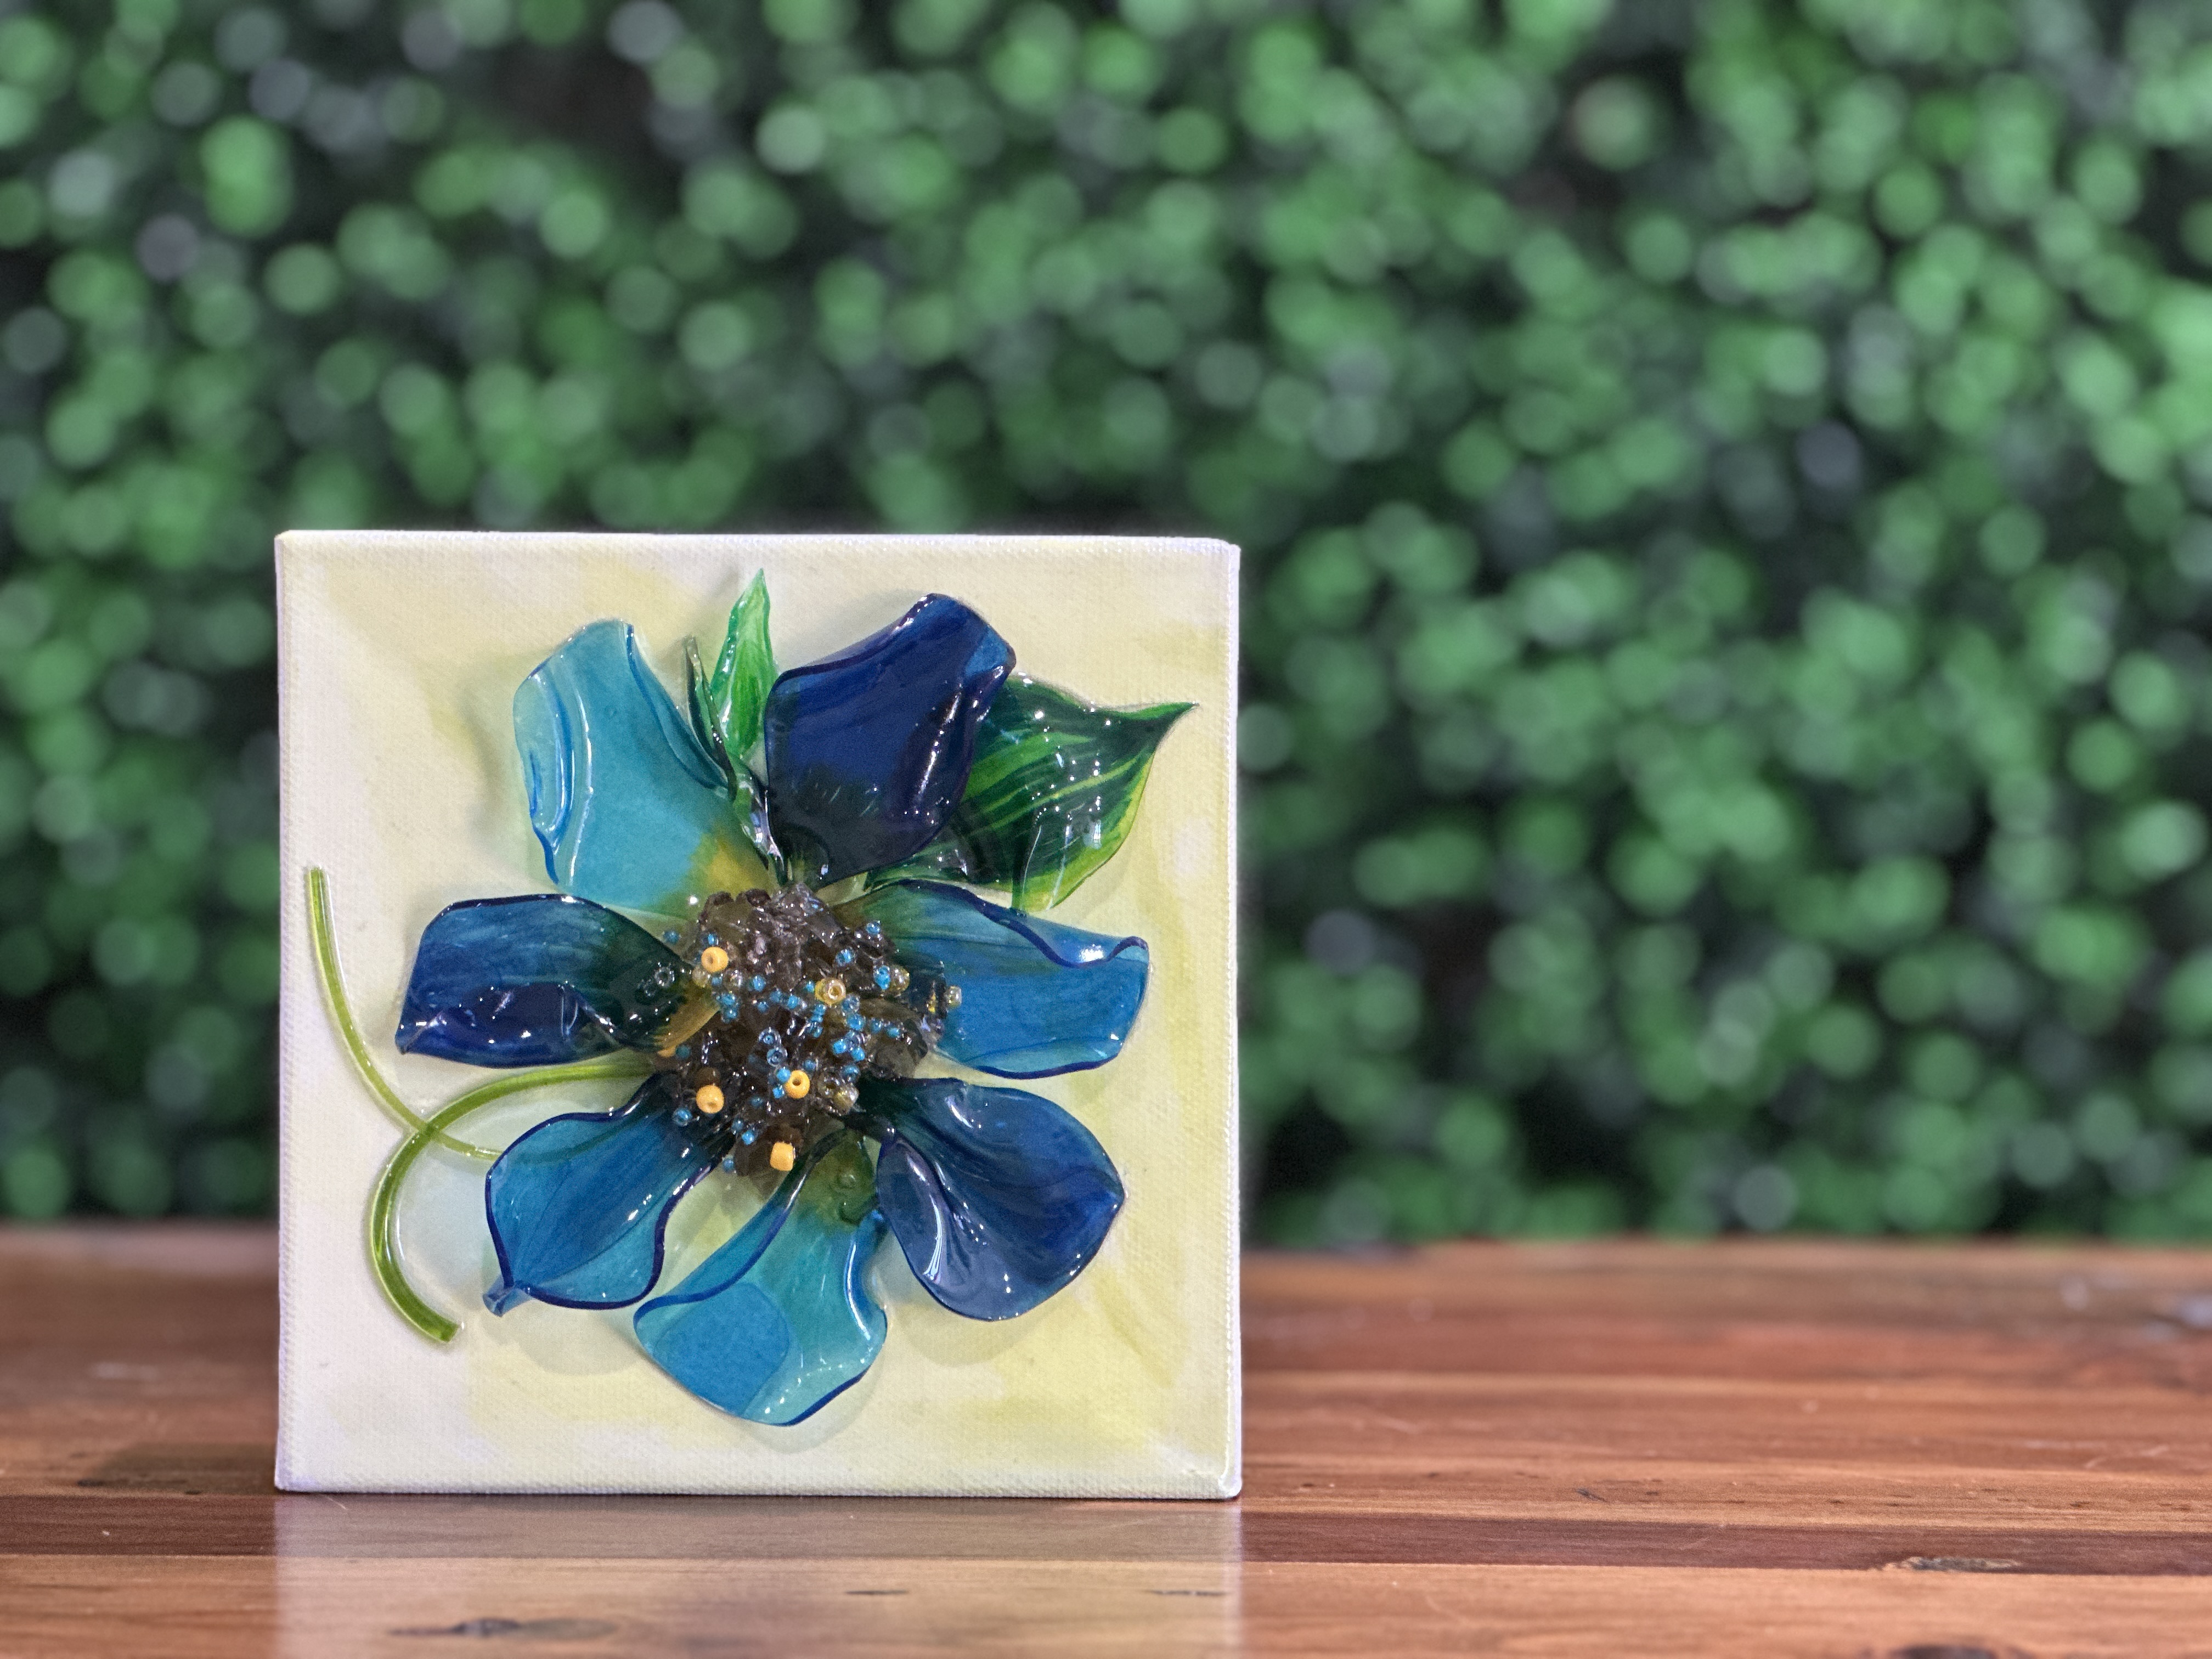
Paint a quick background on your canvas if you'd like - just something simple for contrast. I'm using a 6x6 canvas and painting it with Citron Green and white paint. Dry with a heat tool.
Next, we're going to elevate our canvas using blocks. Put on rubber gloves. Mix 1/2 oz total of ArtResin and stir gently for three minutes. Pour the resin onto your canvas and use your gloved fingers or brush to spread it over the entire piece.
Coat the front and back of each petal and place them where you want them. Add leaves, beads, or tiny bits of glass for texture and sparkle to the flower center. I'm using Bronze classic glass, Blue Seed Beads, Yellow Luster Seed Beads, Opaque Yellow Seed Beads, and a few pieces of Green Vitrigraph. Drizzle a little resin on top to lock everything in place.
Remember: If you used watercolor pencils or any non-permanent pigment, seal the frosted (colored) side with a clear acrylic spray before applying resin to prevent smearing.
If you don’t want to miss my Facebook LIVE art instruction, make sure you are on my texting list. I always text 10 minutes before I’m going to go LIVE, so you won’t ever miss it. You can text “Hey Cindy” to 901-519-2923.
Want more inspiration and artwork?
- My website artshattered.com with resources, shop, and more!
- My creative membership The Shattered Circle, where you can explore the world of glass art with online workshops, a supportive community, and more!
- My mini creative membership Just A ‘Lil Bit Monthly Glass Art Club, where you’ll get a new quick and easy online tutorial for just a lil' bit of sparkle in your life!
- My Facebook page where I go LIVE every Wednesday night at 6:00 PM CST.
- My YouTube channel which has tons of free art lessons right at your fingertips.
