How to Tighten a Saggy Canvas (And Prevent Future Warping!) 💡
If you've ever pulled a fresh canvas out of the packaging, excited to start a project, only to find it saggy, wrinkled, or warped, you’re not alone. It’s frustrating, but totally fixable! Whether you’re prepping for a resin pour, glass embellishments, or just want a solid surface to paint on, this post walks you through exactly how to fix a loose canvas and prevent future warping.
Before anything goes on your canvas (paint, texture paste, resin, or glass), you want it to be tight. Press lightly on the center with your finger. If it gives too much? Time to tighten.
Option 1: Use Canvas Keys
Many stretched canvases come with tiny plastic or wood wedges called canvas keys. They go in the slotted corners of your frame. Tap them in with a hammer to gently stretch the wooden frame outward, which pulls the canvas tighter. Don’t have a hammer? A firm push with a craft tool or the back of a screwdriver works in a pinch.
DIY Alternative: Grab a few of those thin paint sticks from the hardware store and cut them down at an angle. Wedge them into the corners like you would with keys, and you’re good to go!

Option 2: Lightly Mist the Back
If your canvas is still a bit loose or you don’t have any wedges, try this old-school method.
-
Turn the canvas upside down.
-
Use a fine mister (not a squirt bottle!) to lightly mist the back of the canvas.
-
Let it dry flat in the open air. As it dries, the canvas will shrink slightly and tighten up.
Important: Do not soak the canvas! Oversaturating it can cause puckering, especially around the corners.
You can also find commercial canvas-tightening sprays online (Dick Blick, Amazon, etc.), but plain water does the job just fine in most cases.
Extra Support for Heavy Resin or Glass Projects
Planning to load your canvas with glass, embellishments, or heavy resin? You’ll want extra reinforcement.
Here are two options:
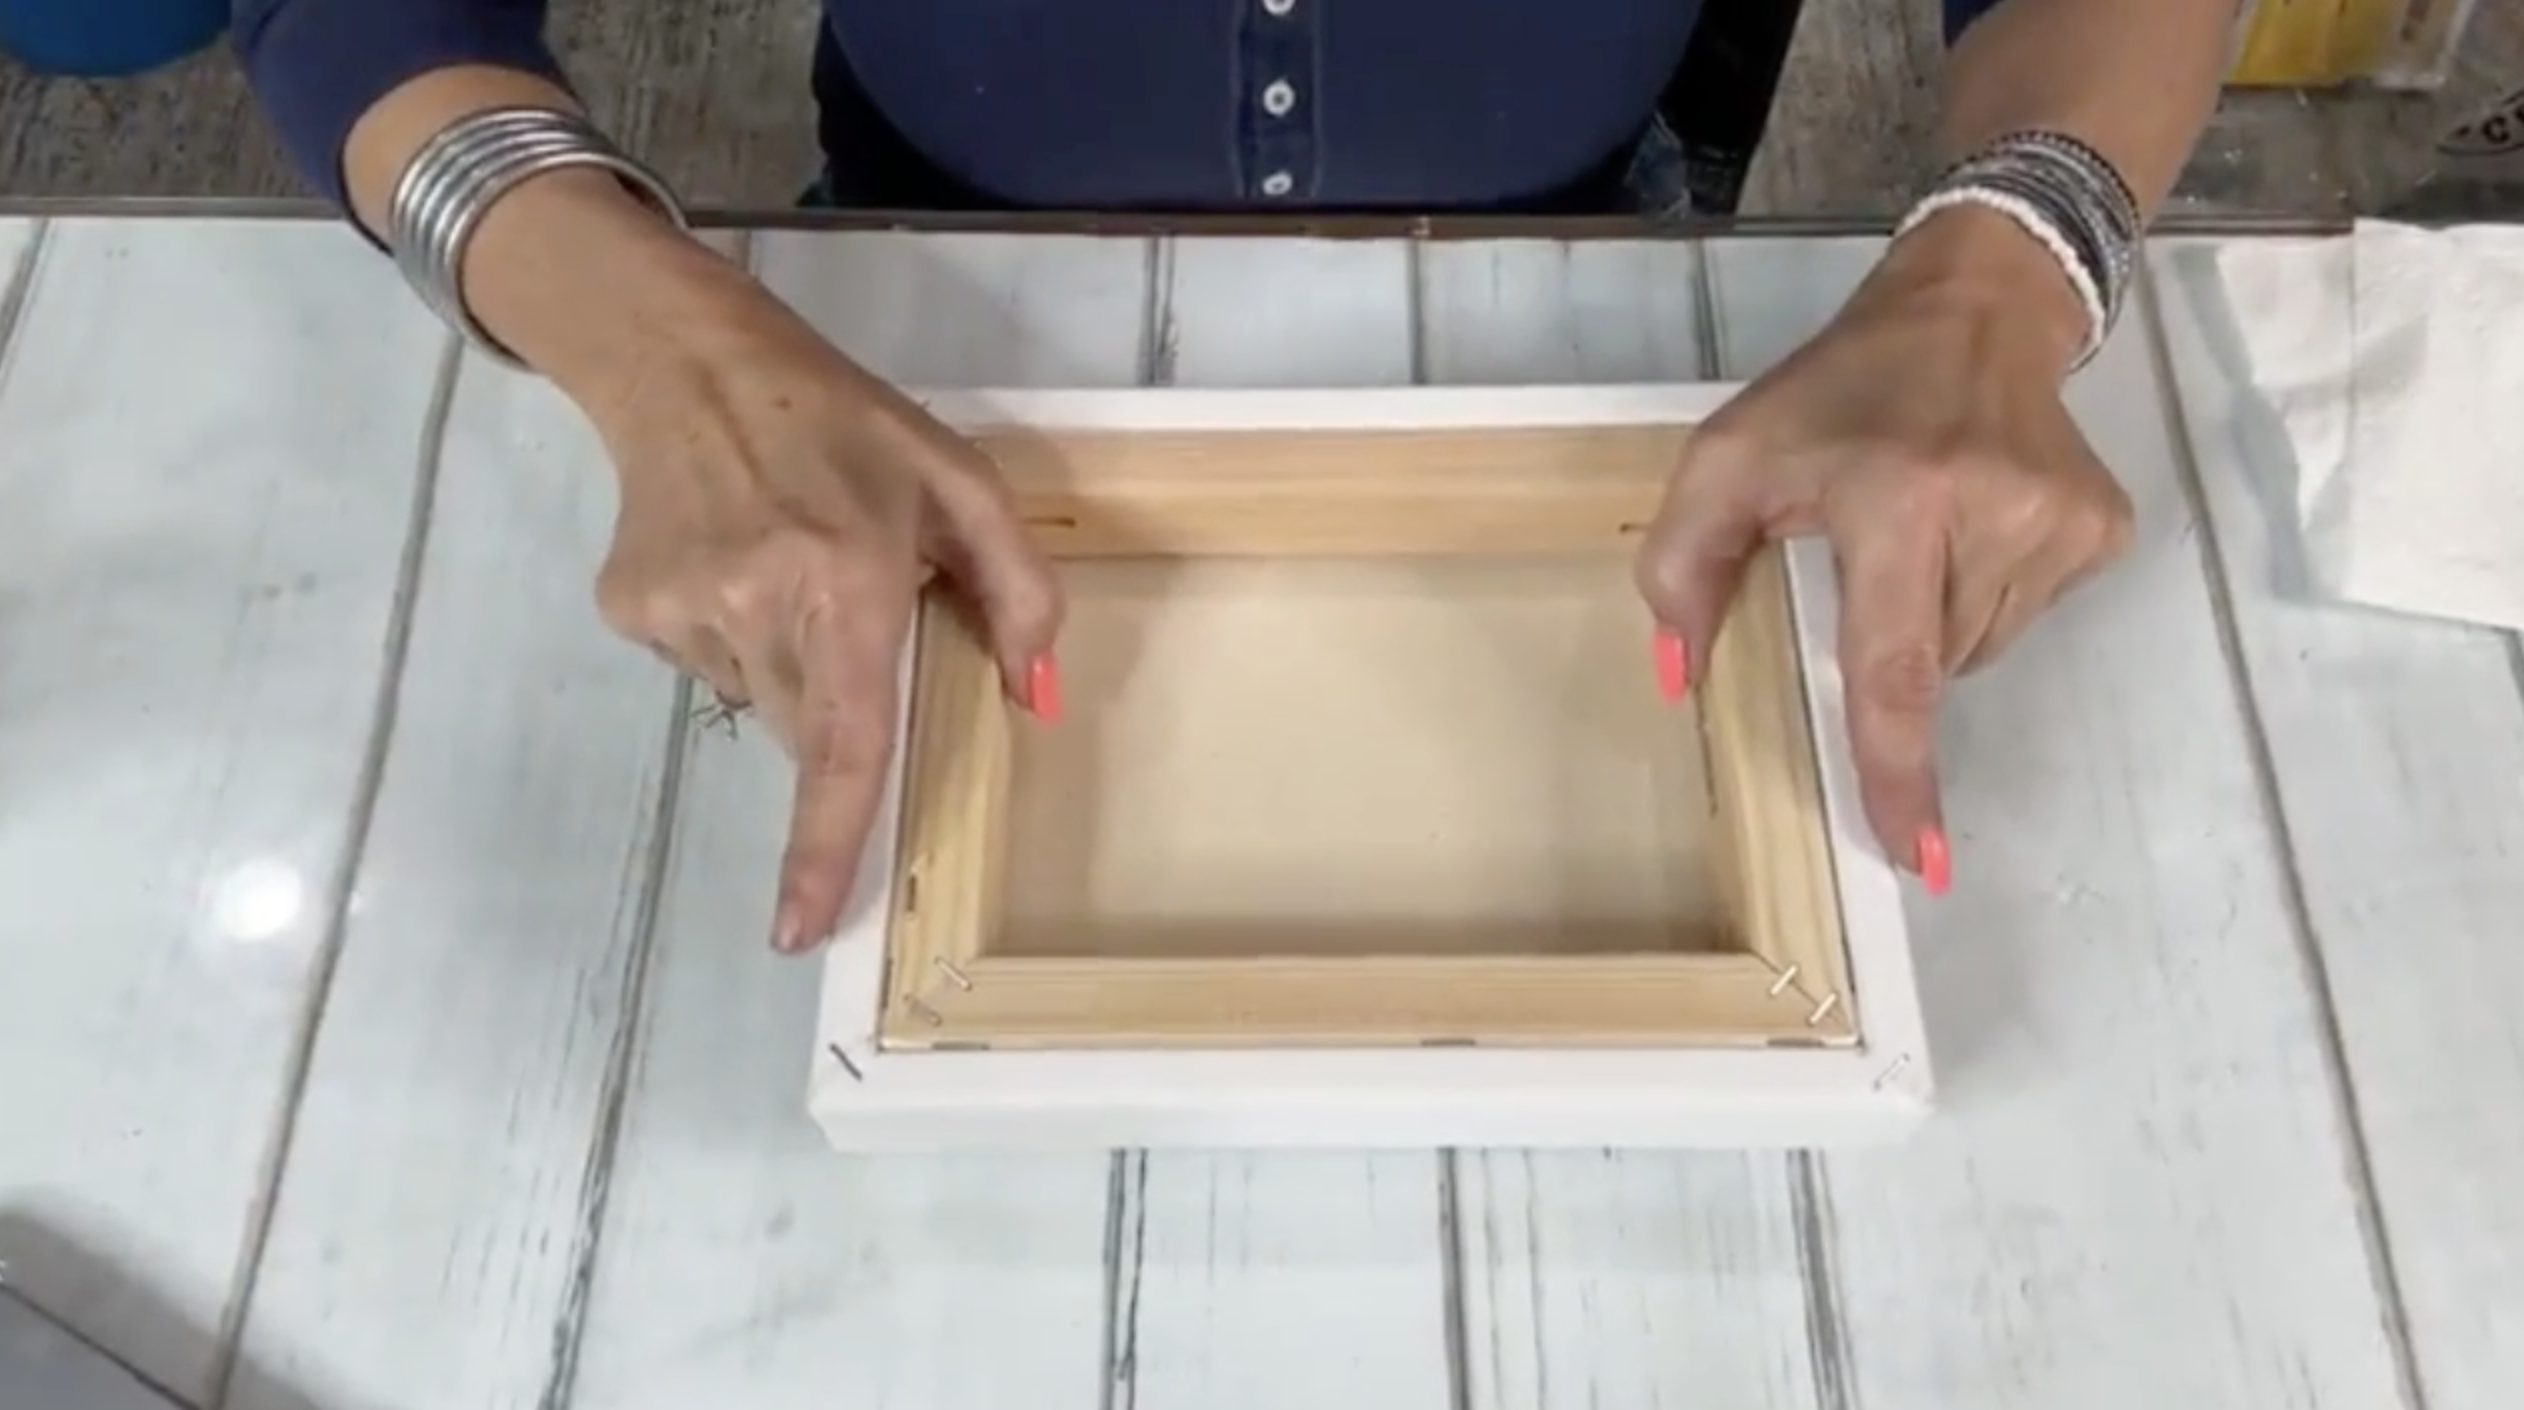
✅ Tuck in a piece of cardboard under the canvas (between the frame and the fabric). Make sure it’s thin enough not to bulge the surface, but wide enough to offer support. Remove after your resin cures.
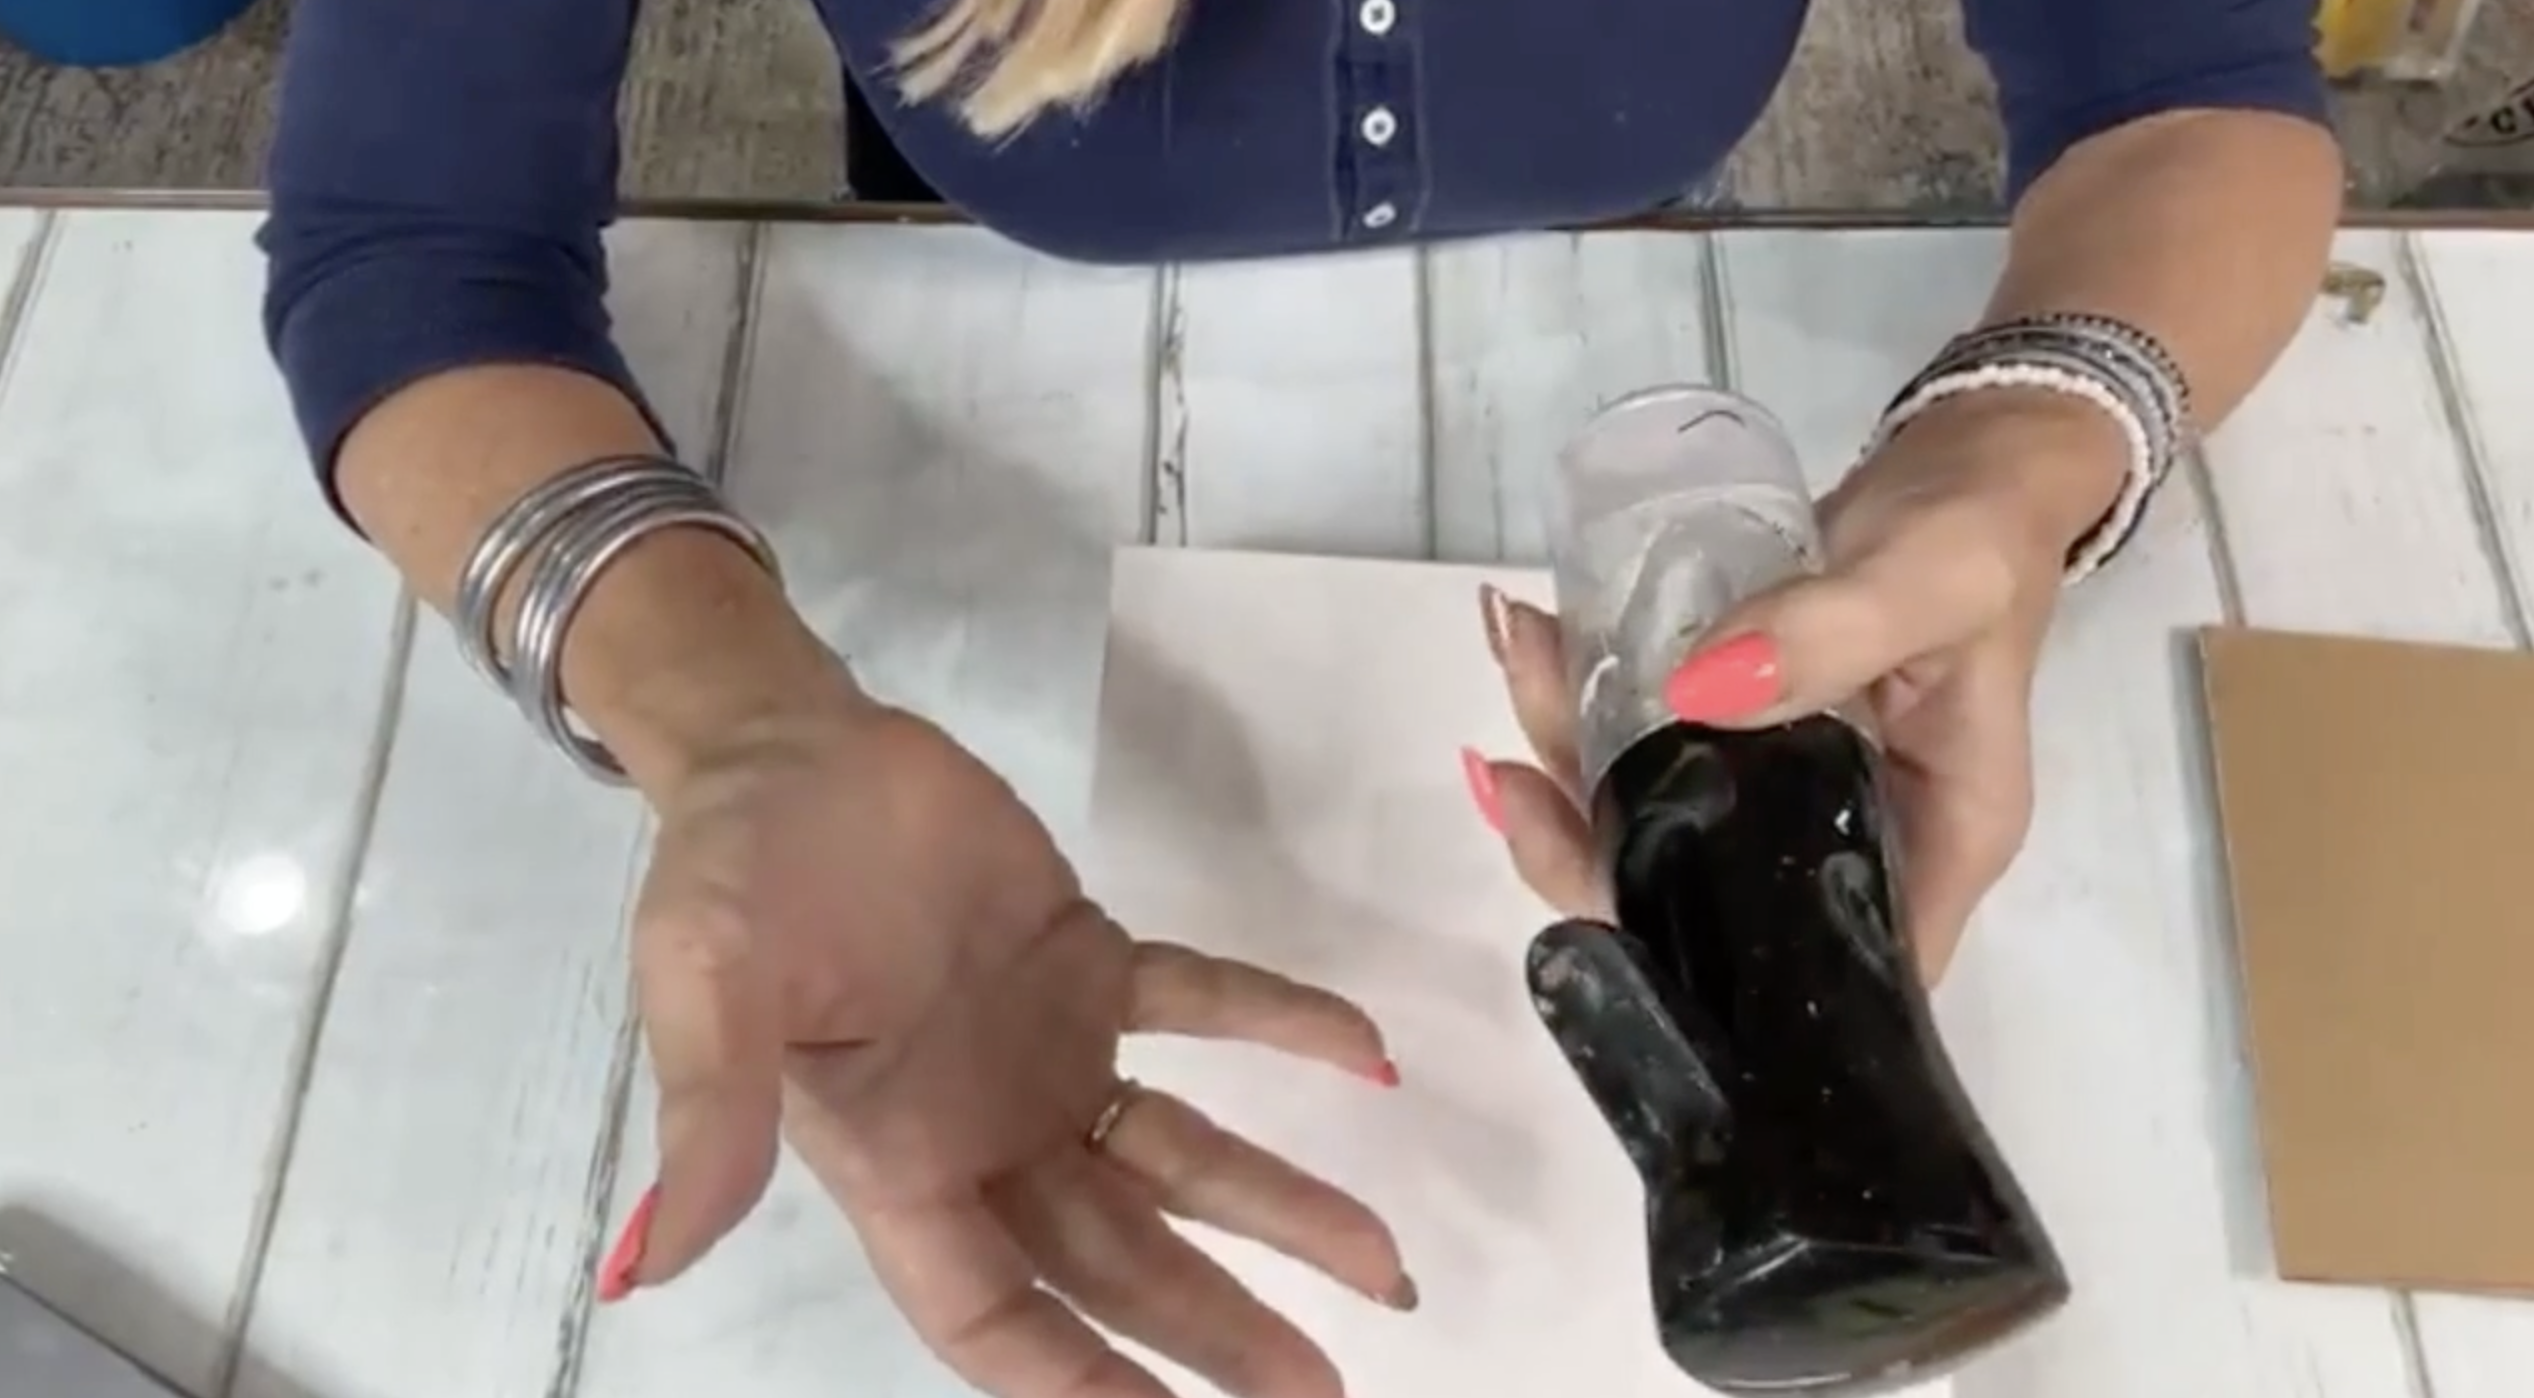
✅ Add a thin resin layer first. Paint your background as usual, then apply a super-thin layer of clear resin to the canvas. Let it cure for 8–12 hours. This creates a firmer surface that’s less likely to sag under the weight of glass or a second resin pour.
How to Store Canvases to Prevent Warping
Warped canvases are hard to fix, so let’s avoid that altogether:
-
Store canvases upright, not flat.
-
Stack them face-to-face or back-to-back (not all facing the same direction).
-
Avoid leaning them against walls or objects - they’ll warp over time.
-
If buying in-store, lay the canvas flat on the ground before purchasing to check for any wobble.
Ordering online? Don’t be afraid to return warped canvases. Stores like Michaels and Dick Blick will typically accept returns if the canvas arrives in poor shape.
A saggy or warped canvas can throw off your entire project, but with a few simple tools and tricks, it’s totally fixable. Whether you’re tightening it with canvas keys, misting it with water, or reinforcing it for heavier resin or glass elements, these steps will help you create a strong, smooth foundation for your art. With the right prep, your canvas will stay tight, flat, and ready for whatever creative magic you have planned.
If you don’t want to miss my Facebook LIVE art instruction, make sure you are on my texting list. I always text 10 minutes before I’m going to go LIVE, so you won’t ever miss it. You can text “Hey Cindy” to 901-519-2923.
Want more inspiration and artwork?

